Clean your mirror and allow to dry.

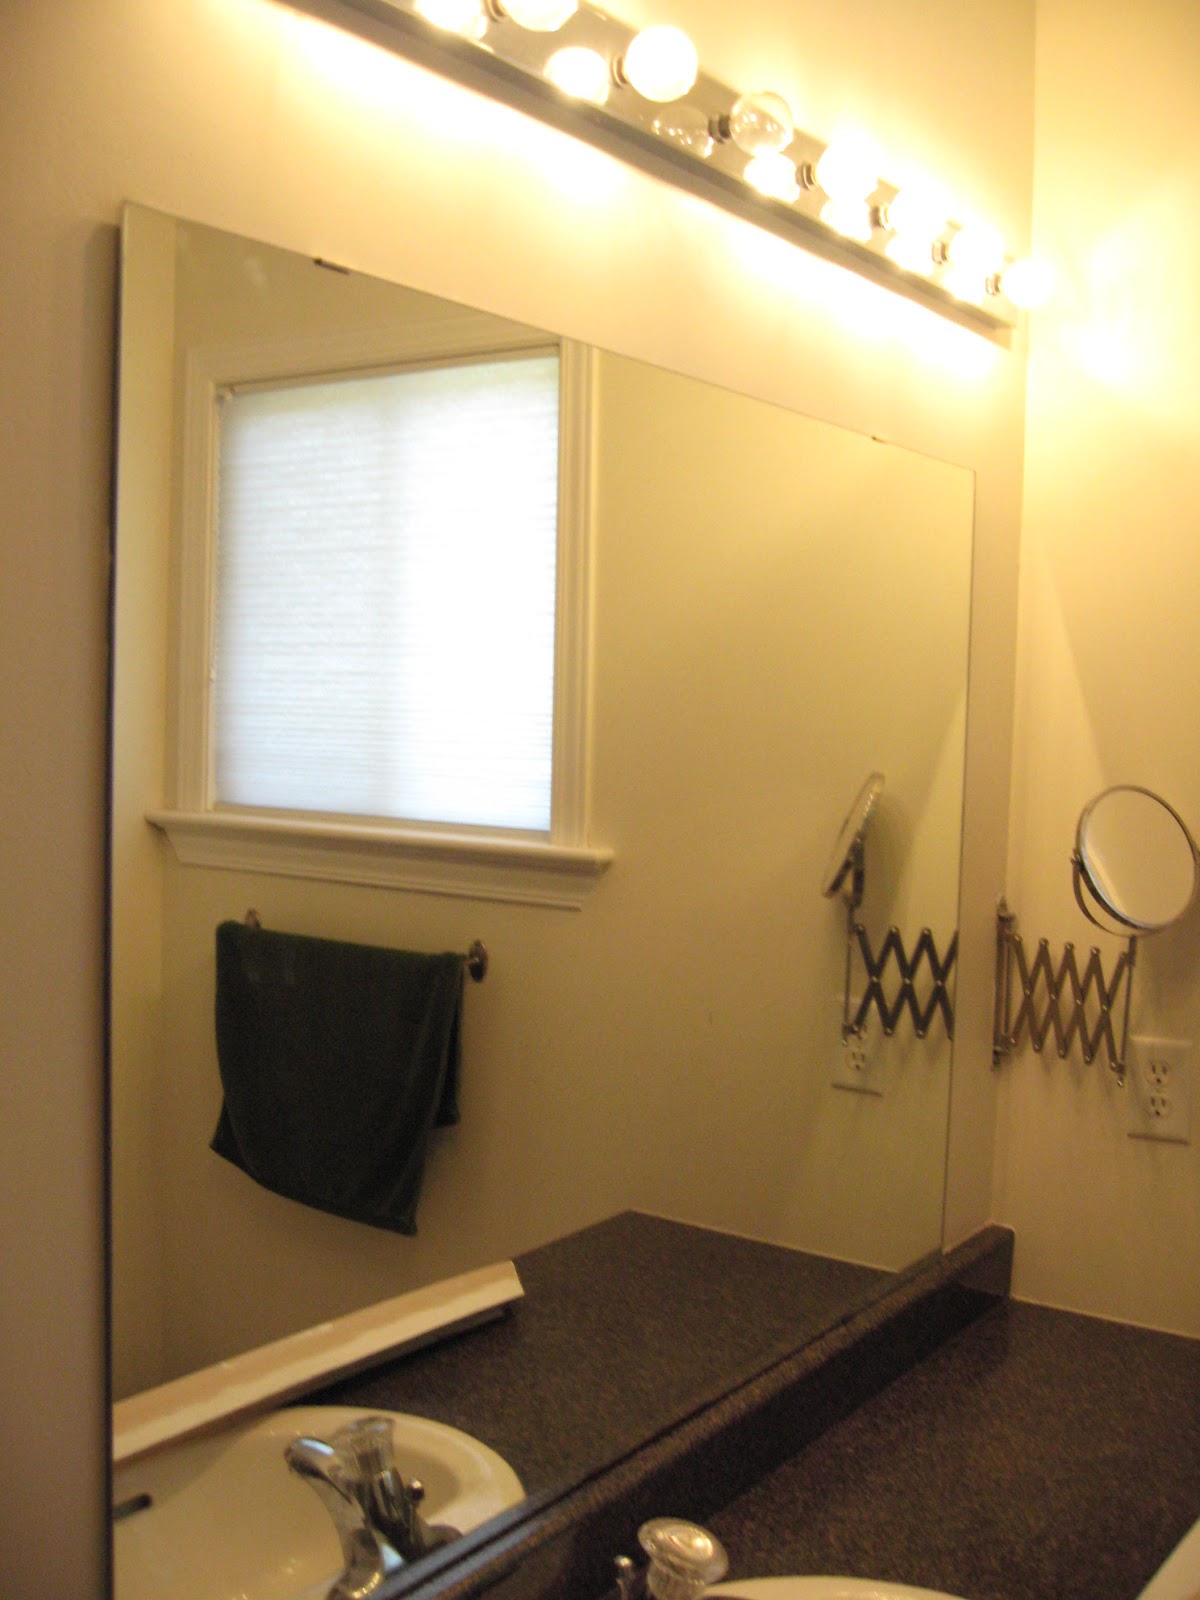
Measure your mirror. Mine is right up against my bathroom counter backsplash.

Work out how long your moulding pieces need to be. I allowed an extra inch for overhang so the edge of our mirror didn't stick out. I didn't make this allowance for the side of the mirror that is flush with the countertop

Go to your local DIY store. Most of the larger ones have a place where you can get your wood cut. I chose primed MDF moulding. I had to buy 2 eight foot pieces. As them to cut your pieces to the length required at 45 degree angles. I went armed with a picture so they knew what I was talking about. For our mirror, I needed 2 pieces cut at 4'2'' and 2 cut at 3'1''. This measurement is for the longest part of the moulding.

This is how it should look laid out.

Paint your pieces in the colour you'd like.

I used white with a gold rub on top.

Paint the inner edge on the back with the same colour. This should be done because the mirror reflects the edge back.

Apply a bead or two of the adhesive you've chosen to use on the back of the moulding.

I used No More Nails. It's super strong and you don't have to stand there holding it while it dries. It dries really quickly, so you have to work fast!

Start with the bottom piece. and make sure each edge has the same amount of overhang. I start with this piece because it keeps things straight, as I used the counter to make it level.

Put the side pieces up next. I added a bit of glue on the angels to hold everything together nicely. Don't put too much on otherwise it may squidge out everywhere.

Finished angle.
Finally put up the top piece. You'll have to go from corner to corner making sure everything is even. You'll have a few minutes before the glue completely dries to make the necessary adjustments.
Allow this to dry for around 24 hours before showering so that the steam doesn't loosen the adhesive. Luckily we have the other bathroom to shower in!

The finished product!

Our other bathroom with a slightly different coloured frame.
No comments:
Post a Comment