Showing posts with label upcycling. Show all posts

Wednesday, 29 February 2012

Thrift Store Chandelier

A while ago I wrote a post about some things I found at my local thrift store. I found an awesome chandelier that  I bought for our front entrance way. I knew I wanted to change it in some way, but wasn't sure how.

I started off by taking all of the 'crystals' (plastic crystals) off of the light. They were held on by pieces of wire that were secured by being bent around itself. They were super easy to remove.

At first I thought I wanted to paint it, but then I realized that I would probably put hours into painting it, only to have it look almost the same as when I started. I decided to leave it as is.

I got my Dad to help me install it. I still have a fear of doing electric work, so I left it up to someone who knew what they were doing.

 Chandelier Before

Chandelier After

I was so pleased that it actually worked once it was all wired up (you never know when you buy from a thrift store!)

It's so much nicer than the basic builders light that was there before. It was so worth the $9.99 that I paid for it and then some!

Sunday, 5 February 2012

New Thrift Store Finds

I went out to one of my local thrift stores this afternoon, and I managed to find some great things for our house. As always, I am going to make some changes to them and will post them shortly.

Recently, I've been keeping my eyes open for a hanging pendant lamp for our front entrance. The one that we have right now is a standard builders light (not really anyone's style). I knew I couldn't afford most of the new  lights in the stores, as they seem to run between $70 and $100 for ones that are not even that fancy. I kept checking out the lighting area in the local thrift stores, and I finally found one! It needs some work, but I think it's pretty nice.


 I paid $9.99 for this. I'm not too sure if I'm going to keep the glass droplets or not yet, but if not I'll keep them for future projects. I think it'll be pretty easy to fix it up. The only problem is, I don't know if it works or not! If it doesn't, I guess I'll have to learn how to re-wire a light.

 I then found this floral wall plaque. Not much needs to be done to this, but I'm pretty sure I'll end up painting it whether it's necessary or not.

As the sticker says, I paid $6.99 for it. It's pretty heavy, so it's great that it has two spots for picture hangers or some trusty screws.

 This is the lamp that I found. The middle section of the base is made of amber coloured crackle glass. I really like the shape of the shade, but sadly, it's in really bad condition and has stains all over it. I might use the wire frame from the lampshade to make something new, or I may end up finding a totally different one.


 It has great ornate details and has lots of character. I plan on painting it a different colour, as I find that the gold it is now is a bit too yellow.


These next pieces are from around a month ago and have already been re-done. Again they were from a thrift store. 

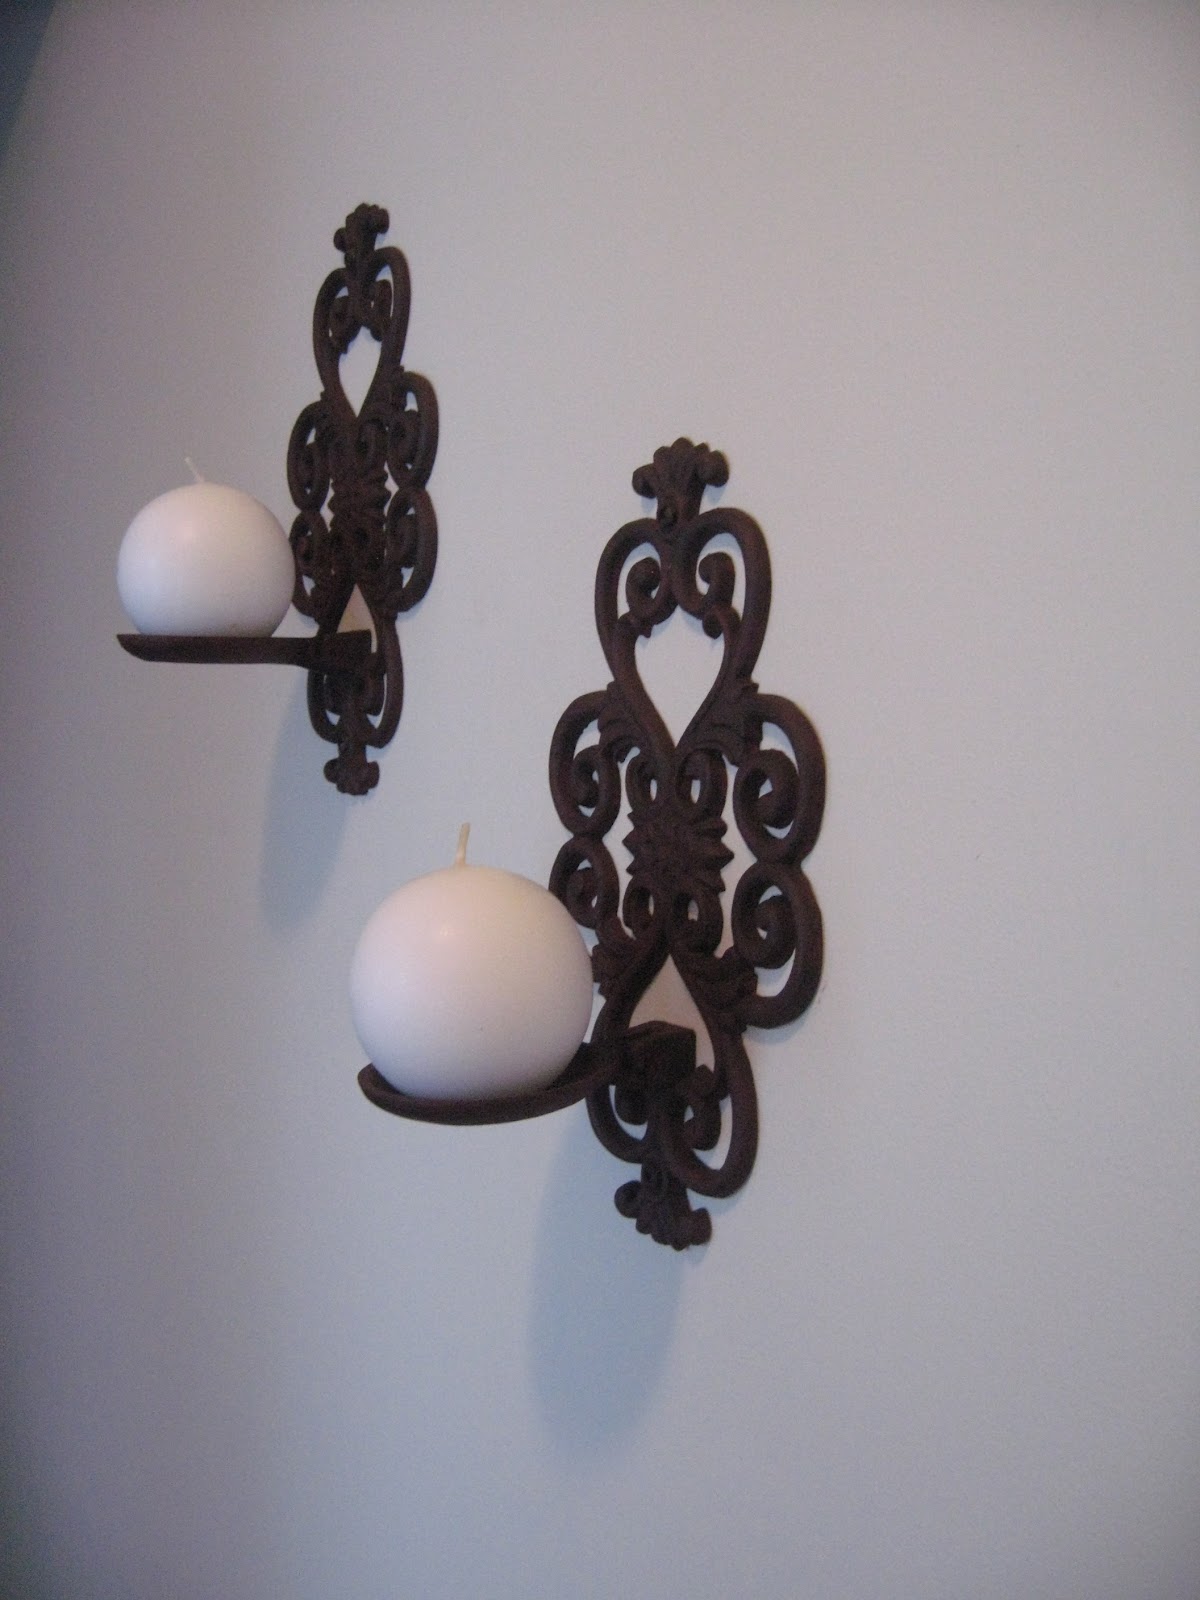
They are wrought iron wall sconce candle holders.  They were sold separately at $2.99 each. When I bought them they were a strange toffee colour. I painted them  a deep red, and then dry brushed a dark brown paint on top to give them an 'antiqued' look. I bought the round candles at Walmart. They came in a pack of two for $2.50.


They're currently hanging in our front entrance. 

I can't wait to get started on these. Pictures to follow! Stay tuned!

Sunday, 22 January 2012

What I Painted!

So a while back I wrote a post about some frames I bought at a local thrift store. I decided that I wanted to paint some poppies. I've had a little obsession with poppies for a few years now. I think that they are probably my favourite flowers. I just love the colour of them and how they seem to blow in the breeze. I didn't take and during pictures, as I tend to get into painting too much to remember to.

Before

After

I've put them up in the dining room above our 'sideboard' (an Ikea Expedit bookshelf turned on it's side)

The colours in the painting seem to pick up the colours in the vases above nicely.

I'm not the best painter in the world, but they didn't turn out too shabby if I do say so myself! 

Old Window Project

I've had two old windows from my parent's farm sitting around for over a year and a half. I was storing it in their basement, and once we moved, they brought it over. One of the windows had all of it's glass in tact, and the other one had a few smashed pieces. I knew from the beginning that I wanted to make a mirror out of the one with the smashed glass, but I wasn't sure what I wanted to do with the other one. I thought about making it a table, but it was a bit too fragile for that.

I finally decided on making it a picture frame. I ordered my prints online, and picked them up at the grocery store near my work. I decided to fill the frame with more pictures from our time in the UK. This weekend, I started working on the window.

This was what the dusty window looked like before

The frame was loose and the glass was nearly falling out.

I had to do some Molly-style DIY with some wood glue and string to hold it while it dried.

I put painters tape around the edges of the glass and painted the frame with white enamel paint.

I found the plain white too stark, so I tried putting a wash of brown paint and water over the top and then wiping it to give it an 'antiqued' look. I then put the pictures in and backed them with deep red scrapbook paper. I STILL wasn't happy with the way it looked. Something about the white paint made it look too new. My husband suggested that I try painting it brown.

I applied 2 coats of dark brown acrylic paint. After it dried, I painted the frame with gold paint, and then rubbed it off with dry paper towel. 

I'm so much happier with the way it looks now. I still have to find a place on a wall for it, as it's quite large. I'm probably going to wait to hang it until I'm finished making the other one into a mirror, but we'll see!

Saturday, 7 January 2012

Garbage Picker or Treasure Picker?

So, a few months ago I was driving with my sister and her family to see their new home. On the way I spotted a little plant stand that I thought I could do something with. We stopped and picked it up and loaded it into the already very full van (it was so full that I had to sit with it on my lap until we got there!) I then thankfully realized that it came apart pretty easily and found room for it in the trunk.

This is one of the times that I wish I would have taken a before picture, but of course, I didn't. The table was all plain wood and the shelf surfaces were full of scratches, dust and cat hair (yum...) The little knobs were wood as well and had lots of little bite marks in them (hence the cat fur).


I disassembled the shelf. I then primed and painted the shelves a dark purple that I had used on a table that my Mom and I refinished (pictures to follow). I then replaced the chewed wooden knobs at the top with some drawer handles that were on clearance at Winners. The shelf supports were in pretty good condition, so I left these as they were. I think it turned out pretty well and looks cute for something that was at the curb destined for the dump!


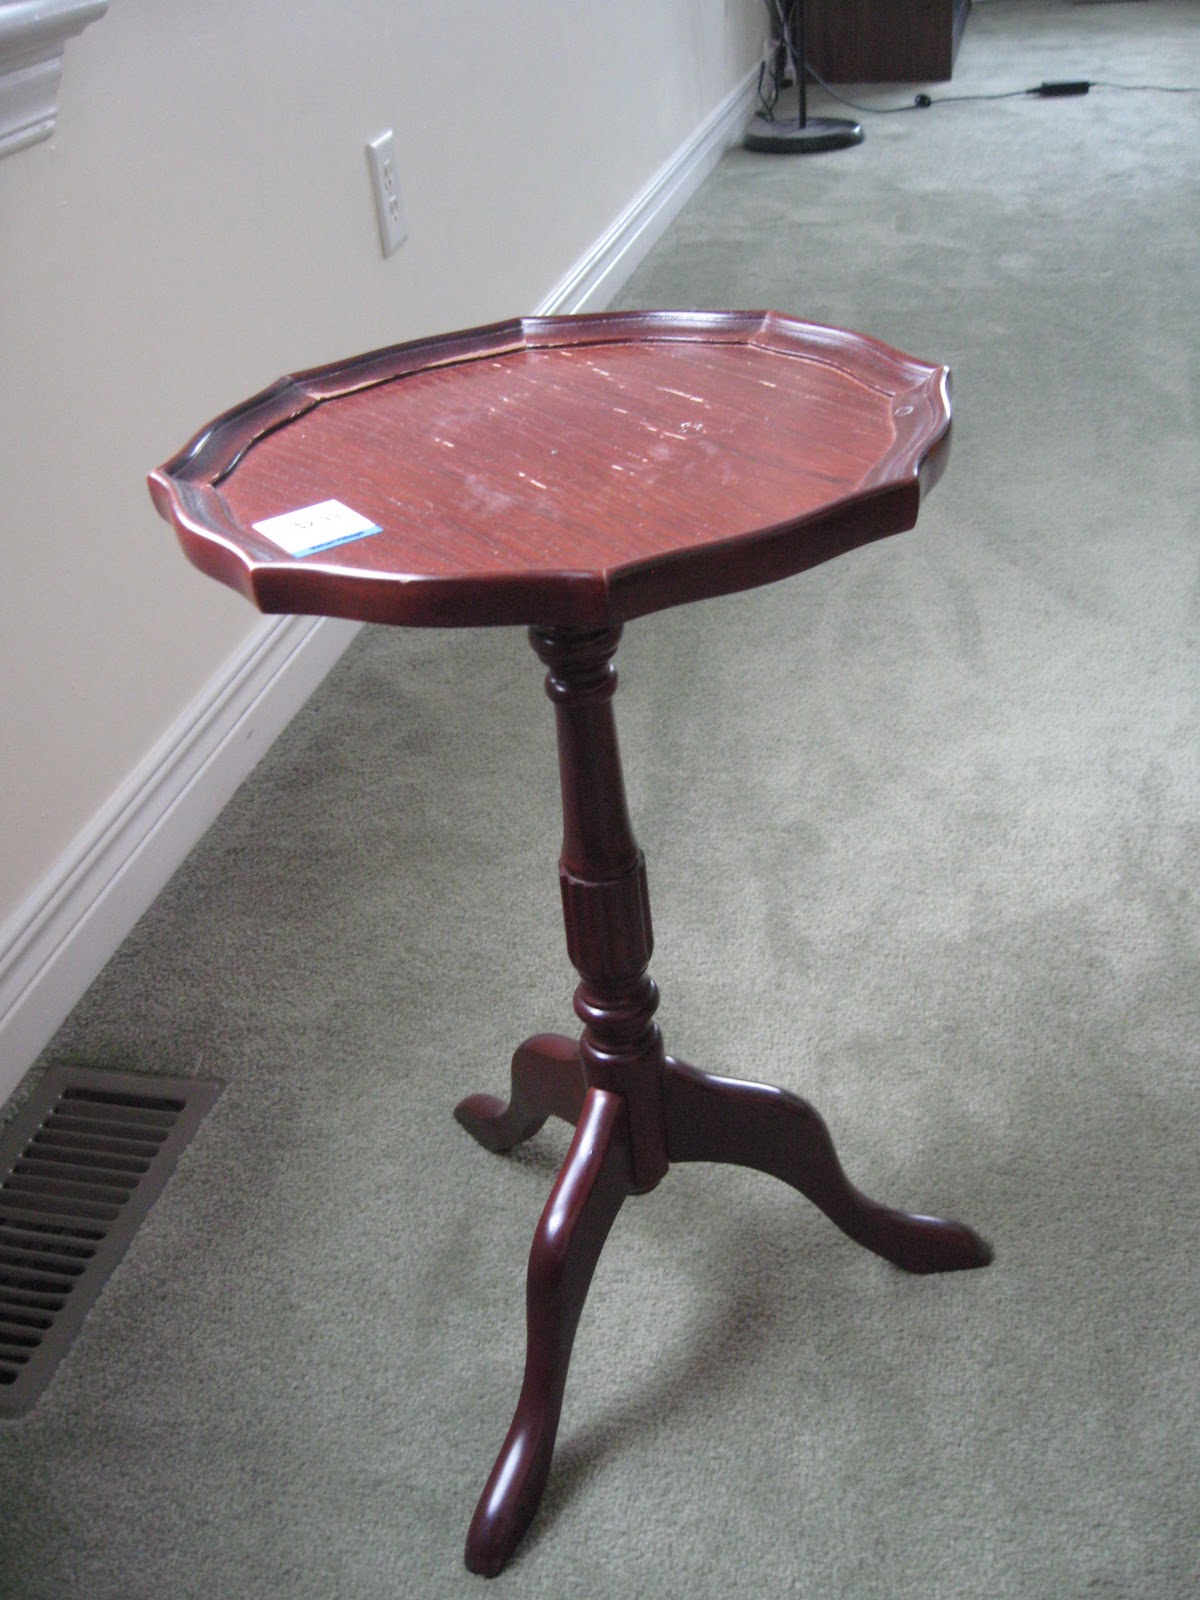
I found this little table at Value Village for $2.99. There's a little metal plaque on the bottom that says it's from The Bombay Company, so I'm sure it wasn't cheap originally. I'm still thinking about what I could do with it, but I thought I'd throw a before picture up before I forget.