Showing posts with label home decor. Show all posts

Wednesday, 29 February 2012

Thrift Store Chandelier

A while ago I wrote a post about some things I found at my local thrift store. I found an awesome chandelier that  I bought for our front entrance way. I knew I wanted to change it in some way, but wasn't sure how.

I started off by taking all of the 'crystals' (plastic crystals) off of the light. They were held on by pieces of wire that were secured by being bent around itself. They were super easy to remove.

At first I thought I wanted to paint it, but then I realized that I would probably put hours into painting it, only to have it look almost the same as when I started. I decided to leave it as is.

I got my Dad to help me install it. I still have a fear of doing electric work, so I left it up to someone who knew what they were doing.

 Chandelier Before

Chandelier After

I was so pleased that it actually worked once it was all wired up (you never know when you buy from a thrift store!)

It's so much nicer than the basic builders light that was there before. It was so worth the $9.99 that I paid for it and then some!

Thursday, 23 February 2012

Thrift Store Finds

I went to Value Village on my lunch today and I found a few household items that I just couldn't resist. I think I'm forming some sort of addiction to thrift stores. I've been going with my Mom ever since I was little, but now that we have our house, I really can't help myself. It's great to find some little gems.

Today I found a really interesting painting.

It's an original painting that came in a 8x11 gold coloured frame. The frame is a bit worn and needs to be repaired, but the painting was only $2.99 so I couldn't complain. There was just something about it that really drew me to it. The colours are very vibrant and cheerful, and the subject matter is a little bit crazy, whimsical and happy all at the same time. It's signed 'M Piccini' at the bottom. I looked on the internet to see if it happened to be a famous artist's work, but nothing came up. 

My favourite part of the painting is this girl's face, not to mention the fact that she's wearing a pot of flowers on her head. The whole thing just makes me smile.

I also got this glass pot/vase. I plan on putting it up with my other coloured glass vases. This was $2.99 as well.

Last but not least, I bought this brass bowl. It's painted with a green floral pattern on the outside. I plan on re-potting the bonsai tree that we got for our housewarming in it.


Closeup of the floral design.

I'll post more pictures once I've hung the picture, placed the vase and re-potted the plant. 

Sunday, 5 February 2012

New Thrift Store Finds

I went out to one of my local thrift stores this afternoon, and I managed to find some great things for our house. As always, I am going to make some changes to them and will post them shortly.

Recently, I've been keeping my eyes open for a hanging pendant lamp for our front entrance. The one that we have right now is a standard builders light (not really anyone's style). I knew I couldn't afford most of the new  lights in the stores, as they seem to run between $70 and $100 for ones that are not even that fancy. I kept checking out the lighting area in the local thrift stores, and I finally found one! It needs some work, but I think it's pretty nice.


 I paid $9.99 for this. I'm not too sure if I'm going to keep the glass droplets or not yet, but if not I'll keep them for future projects. I think it'll be pretty easy to fix it up. The only problem is, I don't know if it works or not! If it doesn't, I guess I'll have to learn how to re-wire a light.

 I then found this floral wall plaque. Not much needs to be done to this, but I'm pretty sure I'll end up painting it whether it's necessary or not.

As the sticker says, I paid $6.99 for it. It's pretty heavy, so it's great that it has two spots for picture hangers or some trusty screws.

 This is the lamp that I found. The middle section of the base is made of amber coloured crackle glass. I really like the shape of the shade, but sadly, it's in really bad condition and has stains all over it. I might use the wire frame from the lampshade to make something new, or I may end up finding a totally different one.


 It has great ornate details and has lots of character. I plan on painting it a different colour, as I find that the gold it is now is a bit too yellow.


These next pieces are from around a month ago and have already been re-done. Again they were from a thrift store. 

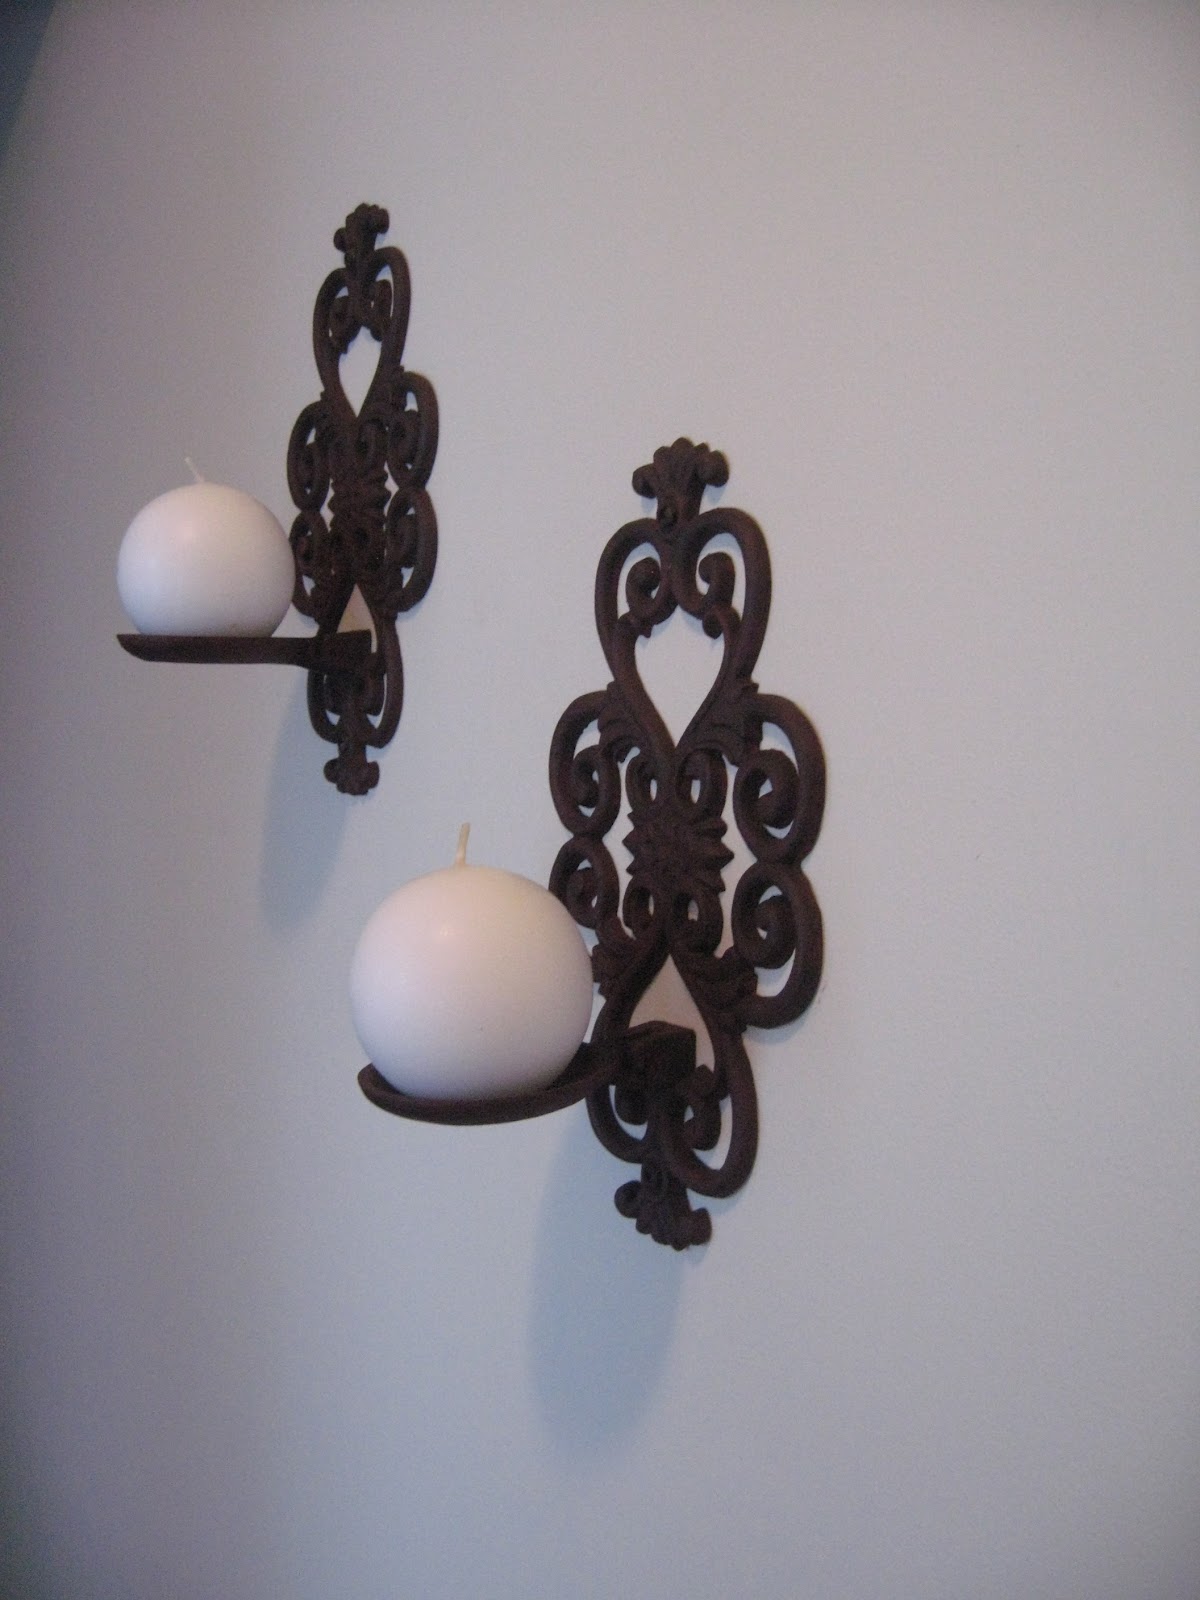
They are wrought iron wall sconce candle holders.  They were sold separately at $2.99 each. When I bought them they were a strange toffee colour. I painted them  a deep red, and then dry brushed a dark brown paint on top to give them an 'antiqued' look. I bought the round candles at Walmart. They came in a pack of two for $2.50.


They're currently hanging in our front entrance. 

I can't wait to get started on these. Pictures to follow! Stay tuned!

Sunday, 22 January 2012

Another Thrift Store Treasure

Ever since I can remember, my Mom has loved a bargain and loved going to thrift stores. I used to go a lot too, but I kind of got out of the habit when I lived in the UK. Since moving into the new house I've definitely begun to love them again. A new Value Village opened up in the summer and it always has really interesting things in it.

On a recent visit, we found a candelabra. It was really tarnished and dirty, but it looked like it had some potential. First off, it definitely looked like it was real silver (or at least silver plated).  It also weighed a tonne. I thought this  would be a plus just in case I was home alone one night and had an intruder (who needs an ugly baseball bat hanging around when you have a trust candelabra?) It was for sale for $9.99. The original price tag was still on the bottom and read $149. We found a bargain! My Mom said she wanted to buy it for me as a housewarming present. She also said that she'd clean it, which was great.

Have you ever wondered how to clean silver? Well if so, apparently this method works quite well.

Step 1 - line the bottom of your kitchen sink with aluminium foil

Step 2 - fill the sink with warm water

Step 3 - add the silver that you wish to polish

Step 4 - sprinkle liberal amounts of baking soda (bicarbonate of soda for all my British friends)

Step 5 - wait

Apparently this shines up your silverware like you wouldn't believe!  There is no scrubbing needed. I wasn't with my Mom to witness the magic, but the proof is in the pudding!

This is the shiny end result.

I found the deep red candles for 3 for a dollar at a local dollar store, so I have one extra just in case. I think it looks pretty impressive for something that only cost $12 in total and a bit of baking soda.

What I Painted!

So a while back I wrote a post about some frames I bought at a local thrift store. I decided that I wanted to paint some poppies. I've had a little obsession with poppies for a few years now. I think that they are probably my favourite flowers. I just love the colour of them and how they seem to blow in the breeze. I didn't take and during pictures, as I tend to get into painting too much to remember to.

Before

After

I've put them up in the dining room above our 'sideboard' (an Ikea Expedit bookshelf turned on it's side)

The colours in the painting seem to pick up the colours in the vases above nicely.

I'm not the best painter in the world, but they didn't turn out too shabby if I do say so myself! 

Old Window Project

I've had two old windows from my parent's farm sitting around for over a year and a half. I was storing it in their basement, and once we moved, they brought it over. One of the windows had all of it's glass in tact, and the other one had a few smashed pieces. I knew from the beginning that I wanted to make a mirror out of the one with the smashed glass, but I wasn't sure what I wanted to do with the other one. I thought about making it a table, but it was a bit too fragile for that.

I finally decided on making it a picture frame. I ordered my prints online, and picked them up at the grocery store near my work. I decided to fill the frame with more pictures from our time in the UK. This weekend, I started working on the window.

This was what the dusty window looked like before

The frame was loose and the glass was nearly falling out.

I had to do some Molly-style DIY with some wood glue and string to hold it while it dried.

I put painters tape around the edges of the glass and painted the frame with white enamel paint.

I found the plain white too stark, so I tried putting a wash of brown paint and water over the top and then wiping it to give it an 'antiqued' look. I then put the pictures in and backed them with deep red scrapbook paper. I STILL wasn't happy with the way it looked. Something about the white paint made it look too new. My husband suggested that I try painting it brown.

I applied 2 coats of dark brown acrylic paint. After it dried, I painted the frame with gold paint, and then rubbed it off with dry paper towel. 

I'm so much happier with the way it looks now. I still have to find a place on a wall for it, as it's quite large. I'm probably going to wait to hang it until I'm finished making the other one into a mirror, but we'll see!

Tuesday, 17 January 2012

Our Big Tiling Weekend

This past weekend we kept busy by tiling the back splash. I had never tiled before, but it wasn't too bad. It was more time consuming than it was difficult.

We started out by mixing the mortar that's used to stick the tiles on the walls. I'm sure different kinds of mortar have different instructions, but this one said to put the mortar and water in a bucket, mix for 5 minutes, let sit for 10 and then mix for another 2 minutes. I would definitely recommend using a corded drill as I think this would burn a cordless drill out in no time. It's about the consistency of peanut butter when you're done.

I didn't get a photo of the mortar on the walls, but you use a mortar spreader to put it on, which makes ridges. This makes the tiles adhere better. The fun part about putting the tile up is going around all of the outlets etc. We had 4 outlets, a phone jack and a window to contend with. Put spacers in between the tile to make sure they're the right distance apart.

After all of the tiles are up, wait for around 24 hours.

The next step is the messy bit. Grout! We chose a charcoal coloured grout. The mixing process was similar to the mortar. You use something called a grout float to apply it. You have to be quite quick while you're doing this part as it dries really quickly.

It looked pretty horrible at this point. I was really hoping it would wipe off and look nice! After 25 minutes, we started to wipe the excess grout off with large sponges.

After a lot of wiping, it finally started to look good. We had to keep on rinsing our sponges off so that we weren't just spreading the grout around. In this photo the grout is still wet.

This is the finished product up close.

Before

After!

I'll put more after pictures up when it is completely finished. I still have to do some painting around the windows, and caulk around the counter top.

I would definitely recommend that everyone try tiling at least once. The end result is really rewarding!

Thursday, 12 January 2012

Another Curbside Find

A while back my Mom gave me a stool that she had found at the curb on garbage day. It was still sturdy, but the  fabric on the seat was a bit worn and dated.

I measured the width of the seat and added about 6 inches just to be safe. I then went to Fabricland to look for an upholstery fabric that would work. The fabric I chose was in the clearance section, so I think it ended up costing me around $6.

The seat padding was still in good condition and the seat fabric was clean, so I left them both on to make this project even faster. If either were not in good condition, I would suggest taking them off and starting from the bare bones.

All I needed to do was cut a piece of the fabric the same size as the seat cushion (adding a few inches to wrap around), pop the seat out (it wasn't secured down with anything), staple the fabric down tightly and put the seat back on.

I don't have any during pictures, so if I do a project like this again I'll make an effort to get some.

This is the recovered stool.


The legs are wood. I haven't decided whether I'm going to paint them or not. They are somewhat scratched, but I kind of like the way they look. I think this is another great find. At least we were able to save it before it ended up in a landfill.

Sunday, 8 January 2012

My Colourful Vase Display

Our new house has a huge ledge above the separating wall between the 'formal' dining room and the kitchen. I knew I had to think of something to put of there, otherwise it would look too bare.


I decided that I was going to start a collection of large vases in various colours. I also decided that I wasn't going to spend fortunes on them and budgeted myself to spend no more than $15 per vase.

I started off with the round purple one that I found at Winners for $15. My next find was awesome. I work near a McIntosh and Watts store (usually out of my price range, but I thought I'd give it a go). I had gone in there a few months back and saw some really nice recycled glass vases, but they were $80 and I had to give them a pass. I went back in a few weeks ago, and those same vases were on sale for 75% off! I got the largest green vase in the picture above for $20! (I know, over my budget, but budgets are made to be broken sometimes, right?) The blue vase on the far left is one that my Mom found for me. I love the colour of it. I then purchased the other three (orange, red and turquoise) all at the same time from Home Sense. I had a $25 gift certificate from Christmas and I ended up getting all three of these for $35, so my total out of pocket cost for them was $10.

I never thought I'd grow my collection so quickly, but I'm so happy with the way they look. They look so pretty when the sun is shining and they look like they're lit up. I'm sure I'll be able to find some more nice ones in the spring at garage sales around town.

Saturday, 7 January 2012

Garbage Picker or Treasure Picker?

So, a few months ago I was driving with my sister and her family to see their new home. On the way I spotted a little plant stand that I thought I could do something with. We stopped and picked it up and loaded it into the already very full van (it was so full that I had to sit with it on my lap until we got there!) I then thankfully realized that it came apart pretty easily and found room for it in the trunk.

This is one of the times that I wish I would have taken a before picture, but of course, I didn't. The table was all plain wood and the shelf surfaces were full of scratches, dust and cat hair (yum...) The little knobs were wood as well and had lots of little bite marks in them (hence the cat fur).


I disassembled the shelf. I then primed and painted the shelves a dark purple that I had used on a table that my Mom and I refinished (pictures to follow). I then replaced the chewed wooden knobs at the top with some drawer handles that were on clearance at Winners. The shelf supports were in pretty good condition, so I left these as they were. I think it turned out pretty well and looks cute for something that was at the curb destined for the dump!


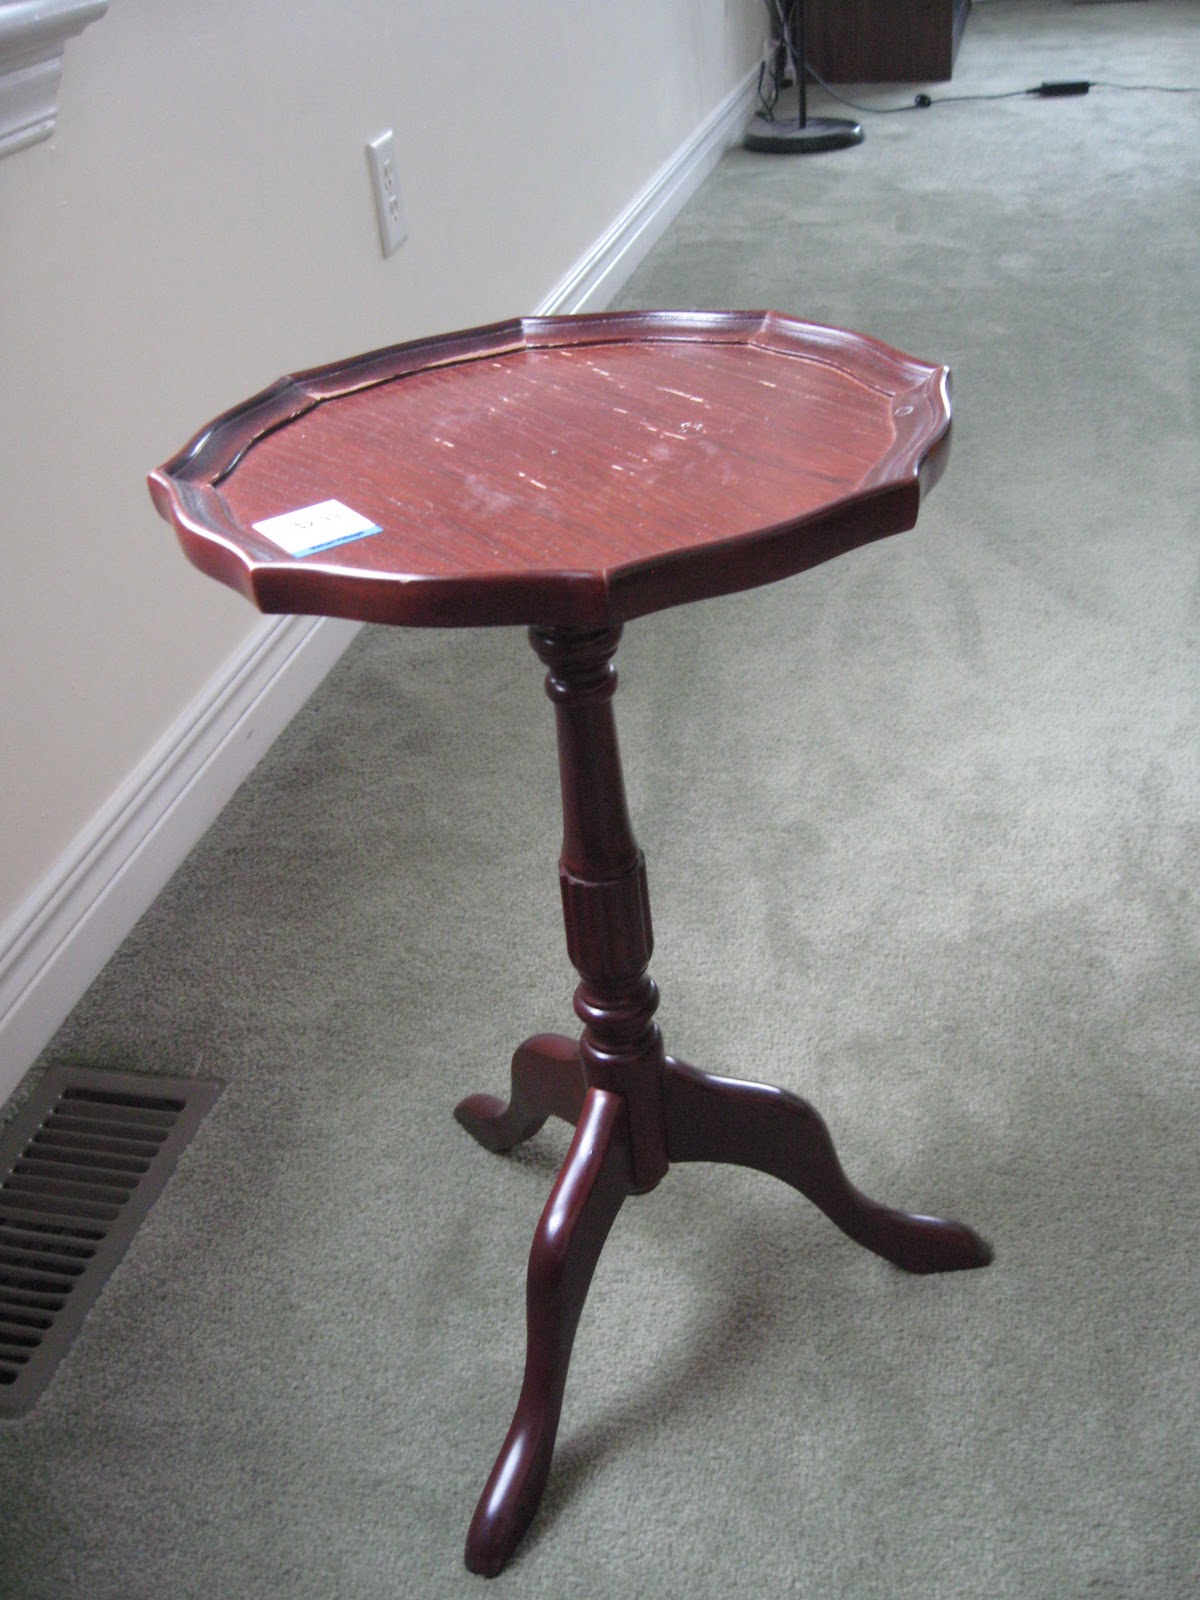
I found this little table at Value Village for $2.99. There's a little metal plaque on the bottom that says it's from The Bombay Company, so I'm sure it wasn't cheap originally. I'm still thinking about what I could do with it, but I thought I'd throw a before picture up before I forget.

Frame and Mirror Collage

We have a large wall that I wanted to do something a little bit different to. I didn't want just one huge painting filling it, and I thought I'd have a go at making a collage out of some mirrors and frames.

This is what I ended up with (sorry there is some glare. It was pretty sunny when I took these):


We painted our whole house, and I decided that I wanted very light neutral walls throughout. Sounds boring, I know, but I prefer to add colour with accessories and furniture. That way if I get sick of the colour(s), I can just change the pillows or a painting rather than having to paint walls where the ceilings are 14 feet high at some points.

My best tips for creating a collage are as follows:

- collect the main bulk of frames and mirrors that you want  to include before you start if possible. This means that you can plan out where everything fits in better and you wont have to move things around as much.

- Try to stick with on colour for your frames so it is somewhat cohesive and flows well. I went with gold tones. You could do whatever colour you'd like or if you'd like a more wild look, you could just use a bunch of colours.

- Some of the frames I bought were a different colour initially. I bought some cheap gold acrylic paint and gave them a base coat with that. I then lightly brushed some dark brown paint over top when the gold paint was dry, and then removed it with paper towel. This gives them an antiqued look.

- Don't spend too much on your frames/mirrors/pieces of art. The most expensive piece was the large oval mirror for $9.99. Go to thrift stores and you can find wonderful things!

Here are some close ups of the individual items in the collection:

I found this real butterfly in a frame at Value Village. The frame was plain wood and so was the background. I opened up the frame, removed the butterfly and added a paper backing. I then painted the frame gold and reassembled it. Total cost - $4.50
 This frame was a gift from my Mom from Home Sense. The picture is a cross stitched pheasant that my mother in law made and sent me from England.

 These two frames and prints were from Value Village as well. They were $2 each. I love how the prints inside are somewhat random and I really wonder the story behind them. I didn't have to do anything to them before hanging them. Bonus!

 This is a doily from my Mom and Dad's friend. His grandmother made this a long time ago. So much time and effort went into this piece I thought it would be a shame to fold it up and put it in a drawer, so I framed it! The frame was one that I purchased from Home Sense a while back. It was supposed to hold a bunch of smaller pictures, but I liked how this looked better. I painted the backing board a dark cranberry colour and put the doily in.

My very first blog post

Hi everyone,

I have never blogged before, but I've decided to give it a go to share my ideas and thoughts.

My husband and I lived in the UK for the past 6 years. We've recently moved back and we've just bought our very first house. We've moved back to my hometown (something I thought I would never do!) and we're currently trying to make our house our own.

I am very much into crafts/art and just getting in to DIY. I'm having so much fun creating things for our new place  and I thought I'd share my progress. I have to admit that at the moment, I'm not very good at taking before, during and after pictures of my projects, but I'm going to start! Previously I've just taken pictures of the end result which isn't always helpful.

Here is something that I painted for the sitting area in our kitchen. This is somewhat of a during picture, so I thought I'd add it. I guess I only had the robin's eye and legs to do, but I tried!


This is painted on 3 different canvases. They are each 12''x12''. I bought them from Michael's on sale, and bought the cheap kind of acrylic paint, so this whole project cost me approximately $10.

This is a picture of the finished product. It was hung in our old rented townhouse in this picture.

It has now been hung in it's permanent home.

I think it adds a nice splash of colour to the room.

Where I got everything in the picture above:
Couch - from a work colleague (free)
Coffee and side tables - Ikea (Lack range) housewarming gift from my Mom and Dad
Pillows - recovered in blue velvet (both pillows and fabric given to me by my Mom)
Lamp - second hand from my Aunt
British flag pillow - gift from my friends in the UK when I left
Blanket - Fabricland $10
Wrought iron table decoration - Home Hardware furniture (gift)
Real pine tree - Walmart