Sunday, 17 June 2012

Painting our Doors

I talked about my plans to paint our front door and our garage door. I always wanted a deep red door, as it reminded me of England for some reason. Then one day I was browsing the pins on Pinterest and I saw a picture of a house with a deep purple door. It looked amazing. I had never seen a house with a purple door in the flesh before, but I knew I would love it. I told my husband my plans and he wasn't so sure of the colour. After great persuasion and a lot of convincing, he was fine with it.

I had never painted a door before, and I really wanted to make sure it turned out well, as it is the focal point of the house.

I found another great pin on Pinterest that was linked to a blog post from Pretty Handy Girl called How to Paint Doors. It's got some great tips and really helped me. I didn't take any pictures while I was painting because this post shows it perfectly.

We took the handle and lock off of the door and then gave it a good scrub. There was some double sided tape residue left on the outside of the door from a plastic hook the previous owners had put on.
Handle and lock removed
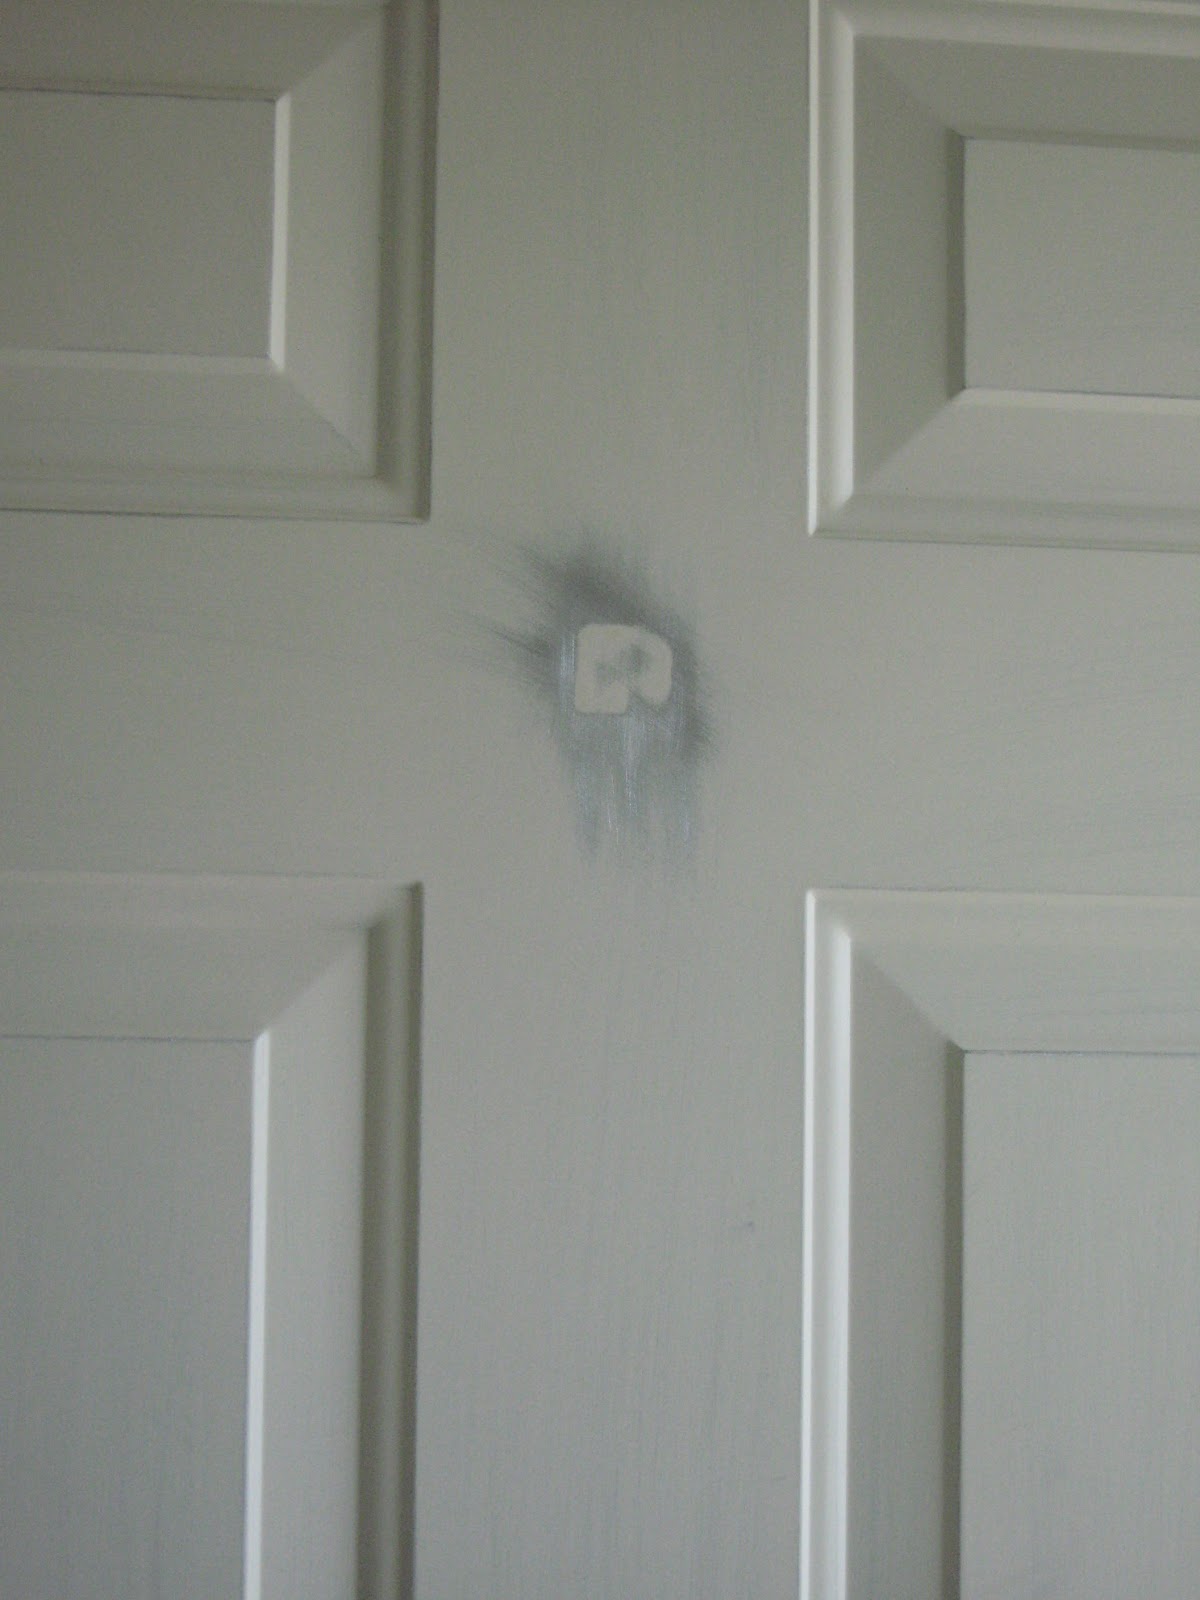
Tape residue scrubbed off and sanded smooth

I then Taped around the edges of the door. 

It took 1 coat of outdoor primer and 3 coats of outdoor paint to complete this project. I did the same steps for our garage door. It was a lot more time consuming because of the size, but it was totally worth it.

Before

The paint colour doesn't look as vivid in the pictures as it does in real life. I used 'Blackberry' by Sherwin Williams and asked them to make it 125% of it's usual colour (making it deeper)

SW7577 Blackberry
 SW7577 BlackberrySW7577 Blackberry
After


If you're going to tackle this project, make sure you don't rush things. Follow the recoat and dry times on the paint can and apply thin coats. It will be worth the extra effort in the long run!

I want to add some sort of wreath, but I'll save that for another time! I'm going to use a strong magnetic hook the hang it, because that double sided tape really left a mess!




It's been a while!

It's been forever since my last post. I've been super busy with everything and really just haven't had the time to write on here! I'll be doing more updates with projects that I've completed over the last few months.

Spring has sprung and it's nearly summer. It's been great seeing all of the perennials coming up in our garden that I didn't know were there (we bought our house in November, so there was no sign of them.)

 The crab apple tree in our backyard had beautiful pink blossoms. They only lasted a few weeks though.


 Some pretty tulips bloomed in our front flower beds.

One of the hanging baskets I bought in mid-May. They are still going strong.
The veggies I planted from seed were a complete failure, so I resorted to buying some that were already started. They're doing much better!

Lola got a haircut for the summer. She is much cooler now!

Sunday, 8 April 2012

Bathroom Mirror Frame - A How-to Guide with Pictures

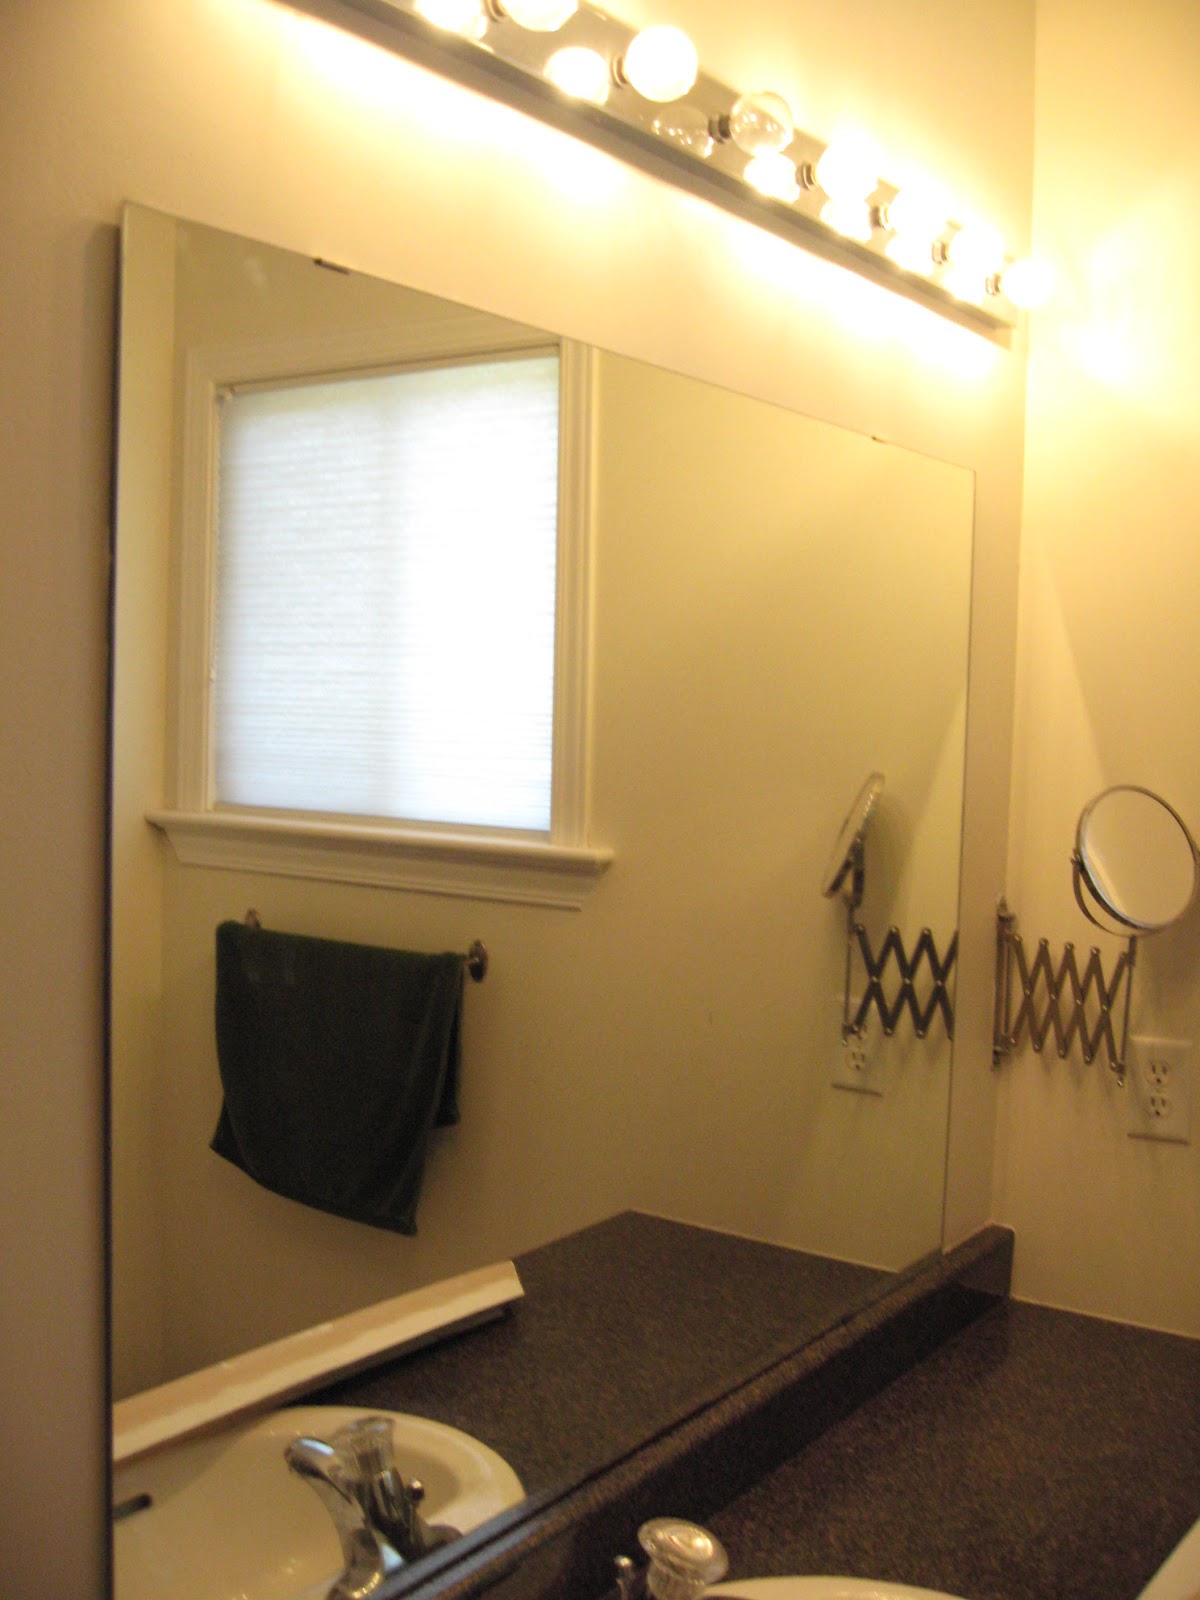
I previously wrote a post about the changes I made to our main bathroom. One of the things I did was frame the bathroom mirror. I didn't take any pictures to show how to do this step by step while doing that one, but I did this time! Here is a guide so you can do it yourself if you'd like.

Clean your mirror and allow to dry.


 Measure your mirror. Mine is right up against my bathroom counter backsplash.

Work out how long your moulding pieces need to be. I allowed an extra inch for overhang so the edge of our mirror didn't stick out. I didn't make this allowance for the side of the mirror that is flush with the countertop

Go to your local DIY store. Most of the larger ones have a place where you can get your wood cut. I chose primed MDF moulding. I had to buy 2 eight foot pieces. As them to cut your pieces to the length required at 45 degree angles. I went armed with a picture so they knew what I was talking about. For our mirror, I needed 2 pieces cut at 4'2'' and 2 cut at 3'1''. This measurement is for the longest part of the moulding.

This is how it should look laid out. 

Paint your pieces in the colour you'd like.

I used white with a gold rub on top.

Paint the inner edge on the back with the same colour. This should be done because the mirror reflects the edge back. 

Apply a bead or two of the adhesive you've chosen to use on the back of the moulding.

I used No More Nails. It's super strong and you don't have to stand there holding it while it dries. It dries really quickly, so you have to work fast!

Start with the bottom piece. and make sure each edge has the same amount of overhang. I start with this piece because it keeps things straight, as I used the counter to make it level.

Put the side pieces up next. I added a bit of glue on the angels to hold everything together nicely. Don't put too much on otherwise it may squidge out everywhere.

Finished angle.

Finally put up the top piece. You'll have to go from corner to corner making sure everything is even. You'll have a few minutes before the glue completely dries to make the necessary adjustments. 

Allow this to dry for around 24 hours before showering so that the steam doesn't loosen the adhesive. Luckily we have the other bathroom to shower in!

The finished product!

Our other bathroom with a slightly different coloured frame.


My weekend full of projects.


Happy Easter everyone! Hope everyone is having a great weekend and that it's sunny and nice wherever you are.

We had a Easter brunch on Friday morning here and that's pretty much all we did Easter wise. It's been a great weekend to get things done around the house. I've actually been able to cross quite a few things off my list I posted recently.

I got our hedge trimmed outside. It runs along one side of our house and is about 30 feet long by 12 feet high. It definitely wasn't a small task as I used garden shears, some clippers and sheer man(woman) power. I think we may have to invest in some electric trimmers, because it was not easy!

I've made some progress on the chair I am painting and reupholstering. It took a coat of primer and three and a half coats of paint to get it finished. I've started reupholstering the cushions, but I've run out of staples for my staple gun, so that's on hold for now.

As I type, the coat of primer that I put on our front door is drying and is almost ready for the first coat of paint. I can't wait to start painting on the colour, which I will blog about shortly.

I also got around to framing our other bathroom's mirror. I've had the moulding for that for a long time and finally crossed it off my list.

I'm also getting other little things done in between coats of paint. I'm going to be making some banana bread for our new next door neighbours that moved in last weekend. Who knows, maybe I'll even bake some for my husband (if he's lucky!)

Sunday, 1 April 2012

My Current Project List

I'm the type of person that needs to have multiple projects on the go at once and I go from one to the other, eventually finishing them all. I have quite a few big projects on my list right now and I'm slowly making progress on them. These are the things I'm working on right now or will be starting soon.


  • Reupholstering and painting the chair that was given to me.
  • Painting the front and garage doors.
  • Framing our other bathroom mirror.
  • Installing posts for a clothesline.
  • Creating raised garden beds for our back yard.
  • Putting up new pictures around the house.
I'm sure I have more to do that I can't think of right now, but there's nothing wrong with being busy! Hope everyone is having a great weekend.

Wednesday, 28 March 2012

My New Chair

As I mentioned before, I have some pretty great people in my life who are constantly finding great pieces of furniture and things for our house, or giving us furniture that they're no longer using.

One of my work colleagues recently gave me a great chair that he no longer had room for it due to the eminent arrival of their newborn baby. 


 Beautiful floral carvings on the seat base and back.


I plan on painting the frame a bright colour (maybe purple) and reupholstering the cushions. I also need to add webbing to the seat for support as it has nothing at the moment and the seat cushion is sinking in slightly. I'm probably going to wait until the weather is nicer outside and paint it out there. Another project to add to my ever growing list!

Sunday, 25 March 2012

Garden Update #2

There's been some growth in all the different seeds that I've planted. My tomatoes are still growing like weeds, and the others are slowly coming to life.

Tomato growth. I planted a few seeds in each cup. I'm going to have to separate them into different pots soon to thin them out. I've also read that I should cover some of the stalks with soil so the plants form a better root system. This makes the plant nice and strong. 

Chili pepper plants slowly coming up. 

Only 3 of the 10 flower seeds have come up so far. Let's just hope they are slow growers.